
Our injera recipe makes about 8 pancakes, enough to serve four
Ingredients:
1 c teff flour (ivory or dark) for the starter (ersho)*
Non-chlorinated water for the starter
1 c all purpose flour
½ c teff flour (ivory or dark)*
2 c non-chlorinated water
½ t ground fenugreek
½ t salt (add this just before cooking)
A large non-stick pan with a lid (preferably glass) for cooking
Method: to make the starter (ersho), add non-chlorinated water to teff flour in a glass jar sufficient to mix into a thick paste. Cover with a towel and rest in a warm dark place until you can see bubbles through the sides of the jar and the surface of the starter is spongy. This will take 2-4 days depending on temperature and the freshness of the teff. (Note to sourdough bakers: we found the teff starter to be much more lively and reactive than a starter made from wheat flour.) Transfer 2 ½ T of this starter to a mixing bowl and save (refrigerate) the starter for your next injera recipe.
Add flours and fenugreek to the mixing bowl, then add water gradually till ingredients are evenly mixed and continue adding the rest of the water; teff doesn’t interact with water like wheat flour so you will end up with a layer of liquid on the top which is okay. Cover with a towel and rest in a dark warm place until bubbles start to form on the surface, about 2 days. (If a bit of mold appears on the surface, just spoon it off and discard.) Pour the liquid off the top into a jar; reserve for cooking the injera. Mix the remaining batter well then transfer ½ c to a non-stick skillet on very low heat. Stir with a spatula till it turns into a rubbery solid, a couple of minutes. Transfer to a plate (or just leave in the skillet) and cool to room temperature. Pour the reserved batter into a blender or food processor; add the rubbery absit; blend until the mixture is smooth without lumps.

This injera is just about ready to cover: most the surface is covered with eyen and turning from shiny to dull.
For the final prep, rest the batter until bubbles begin to form on the top. This can take anywhere from 2 hours to a day. Add salt and part of reserved liquid and blend with a whisk until it is the consistency of heavy cream (you may not need all the liquid.) When you think it’s ready, heat a 12-inch non-stick pan to medium heat. Make a test pancake by pouring a little batter into the pan. It should form little craters all over the surface then the appearance of the surface should change from shiny to dull. If this happens, you’re ready to cook your injera. If there are few or no holes, let the batter ferment for a couple of hours or even till the next day.

Cooked injera cooling on towels
To make your production injera, pour ½ c batter (use a measuring cup) into the skillet then tilt it in all directions till the edges reach the side of the pan. Heat until craters form all over the surface and the appearance changes from shiny to dull; cover and continue to heat 1 minute or more till the edges of the pancake begin to curl up from the pan. (The bottom of the injera should not change color.) Remove cover and flip the pancake out onto a towel; it will be delicate initially but will become more durable and elastic as it cools. Continue until batter is used up. When the injeras are completely cool and dry, transfer them to a plate and put the plate inside a large zip bag unless you are serving them immediately.
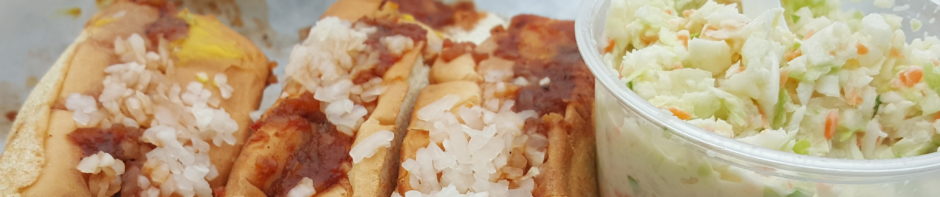
To serve, present a flat injera on a plate (hole side up) with various Ethiopian (or other) preparations ladled on top. Typically there will be small amounts (maybe ½ c each) of four different items, each in its own quadrant, and maybe a bit of salad in the middle. Serve the second injera on the side, rolled up or in stacks on a platter. To eat, the diner tears off a piece of the second injera and uses it to pick up the ingredients on the plate, then tears off the injera on the plate plus its ingredients to finish the meal. If you run out of injera for grabbing and don’t have extras, we think it’s okay to use a spoon.
*Teff flour is available on amazon.
UPDATE 3/20: after two excellent batches, we have been unsuccessful at recreating the generous eyen you see in the photos above. We are on track for a solution but not quite there yet. Here are some learnings if you want to follow along:
*The teff starter (ersho) is VERY prone to attracting mold. We’ve taken to pouring a little non-chlorinated water into the storage container, on top of the starter, and this seems to protect it in the same way that the layer of liquid that forms in your bowl of batter keeps it from molding. Or, just allow a couple of extra days to make fresh ersho from scratch since the teff flour is very predictable in its fermentation properties.
*We revisited Kittee Berns’ injera recipe and realizes she does a couple things differently than we did. First, she cook the injera two days after mixing the batter, rather than our longer fermentation. Second, she covers the injera immediately after pouring the batter into the skillet, rather than letting it start cooking as we did.
*Keep in mind that heat activates but then kills yeast, in the same way you get oven spring when you start baking bread. If your skillet is too hot, the yeast may die before forming good eyen. This may be the most important discovery of them all.
*The Ethiopia cookbook has an alternate method of making absit which we (and you) might want to try. In a large saucepan, bring 250ml of water to a boil. Whisk in 125ml of the base batter and 125ml of water. When this mixture begins to thicken and bubble, remove it from the heat. It should have the consistency of cooked porridge. Let it cool to just warm, then follow above instructions for mixing with batter.
*Finally, if you do your very best and end up with injera that’s more like crepes, no holes, don’t despair. They will still taste good and provide a suitable platform for your Ethiopian cooking experiments. Don’t throw them out.
