
The winning cider donut, from Terrace Mountain Orchard in Schoharie
If you look at the samples in my post on the Tour de Cider Donut from 4 years ago and compare it to the pictures below from this year’s tour, you will notice quite an evolution. Now the miraculous Donut Robot is in near universal distribution, and farm bakeries are pushing the envelope with flavor, coating and the tenderness of the crumb. And the shape requirements have been relaxed somewhat, reflecting the bakers’ confidence with the form.

Lakeside Orchards, Mayfield

Rogers in Johnstown, the least favorite of the group
We visited five remote locations on the first weekend of fall, starting in Mayfield, NY and heading due south. The repeating script was that you’d wander on back roads wondering if your GPS had misled you, then round a bend and suddenly there would be cars parked on the side of the road, hayride tractors lumbering through the fields, and crowds of young families with sacks full of just-picked apples.

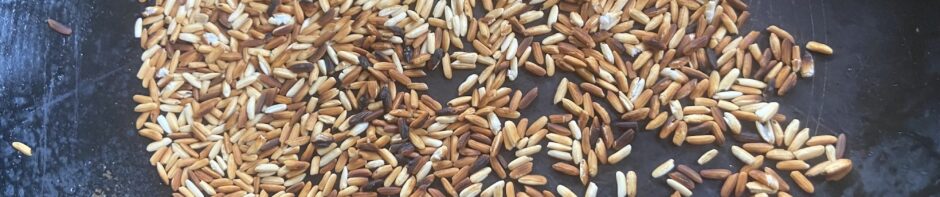
Sand Hill in Fonda, made from vanilla cake mix

Ingredient mix at Sand Hill is proudly posted on the wall
But we were here for the cider donuts and the only actual apple I ate was a Gala sample to save me from a sugar coma at the 4th stop. Donuts were ranked on crust, sugar, cider texture, taste, oil and overall. Crust and texture were the most important components for me. I realized I wanted a crispy exterior which yielded to a soft, nearly pudding-y crumb when I bit into it, and at a couple of places I found just that. One of these establishments stacked the deck by using cake mix as their dough base—a diabolical move they are obviously proud of, since the ingredients label from the package was posted on the wall.

Lined up for donuts at Bellinger Orchards in Fultonville

Bellinger Orchards, Fultonville
That donut scored #2 on the day, with the top place going to the Terrace Mountain Orchard in Schoharie, high on a hillside overlooking US 88. As a bonus, you get an incredible view of the valley on the way down. (Which impressed me so much I forgot to snap a picture.) I can’t think of a better way to spend a crisp fall afternoon.

View of the donut prep room at Bellinger Orchards


